
Before we configure your Auvik / Autotask PSA integration for alert notification, let’s ensure that everything is configured as expected in Autotask PSA for tickets.
How do I add ticket queues?
Ticket queues are used to determine where an Auvik alert notification will be assigned when creating a new Autotask PSA ticket.
- Log into your Autotask PSA application.
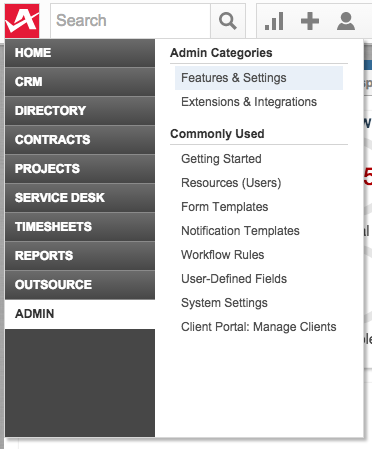
- Hover over the Autotask PSA icon in the top-left corner of your Autotask PSA application.
- Move your cursor down to Admin and click Features & Settings.
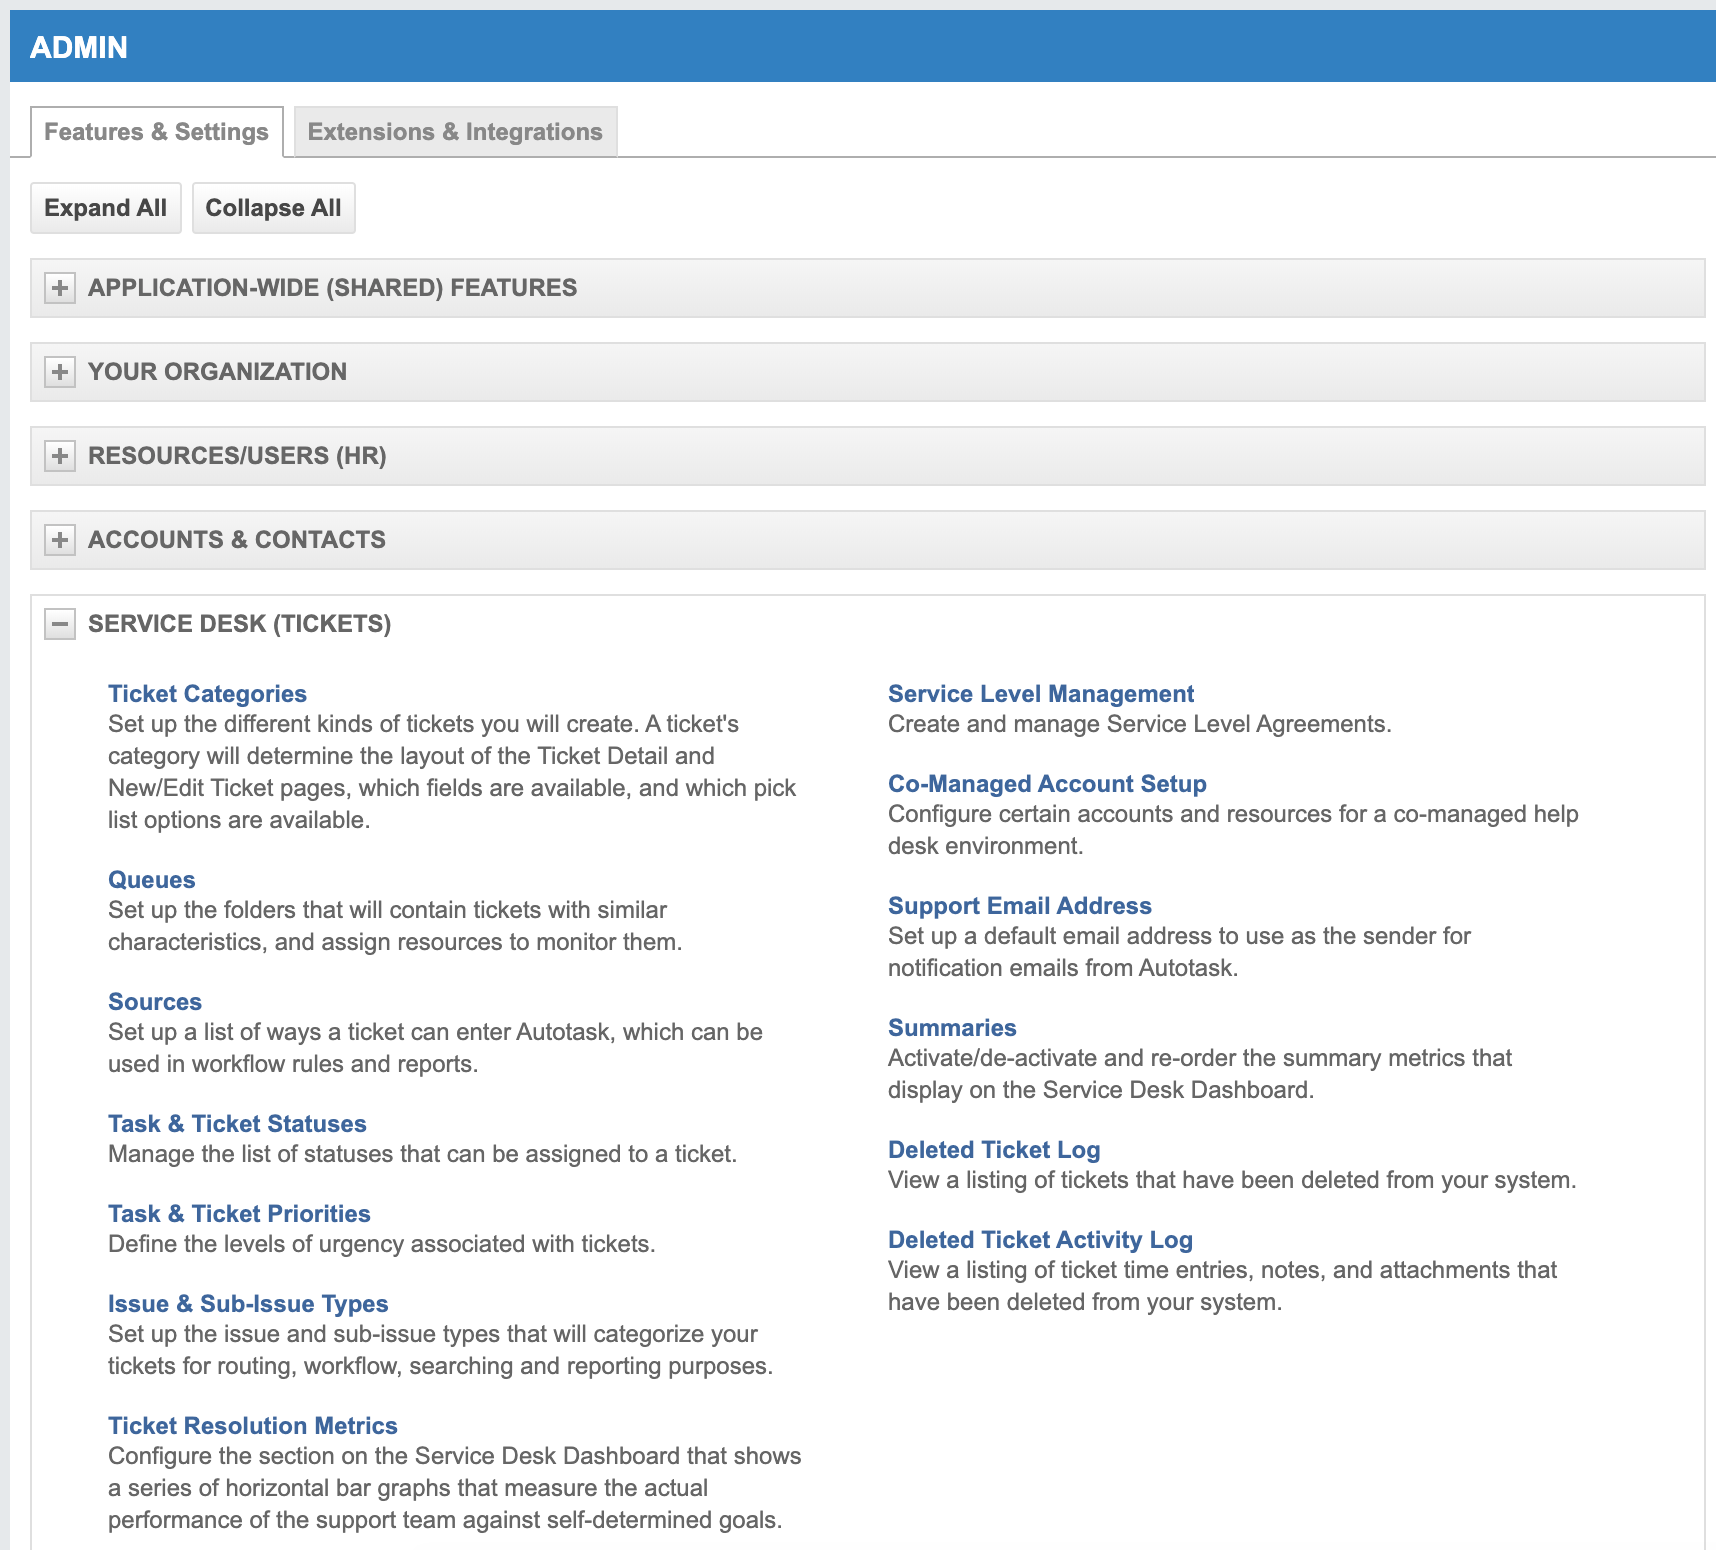
- Expand Service Desk (Tickets), then click Queues.
- If all the appropriate queues exist, move on to How do I add queues? If you need to add more queues, click the New button.
- Enter a name for the new queue and select a location. Be sure that Active is checked.
- Click Save.
How do I add sources?
Sources allow you to identify the source of a ticket. Examples: email, phone call, website.
- Hover over the Autotask PSA icon in the top-left corner of your Autotask PSA application.
- Move your cursor down to Admin and click Features & Settings.
- Expand Service Desk (Tickets), then click Sources.
- If all the appropriate sources exist, move on to How do I add sources? If you need to add more sources, click the New button.
- Enter a name for the new source and check Active.
- Click Save.
How do I add system note types?
For notes from Auvik to appear on an Autotask PSA ticket, you require a system note type named RMM Note that’s set to publish to all Autotask PSA users. This system note type may already exist in your Autotask PSA configuration, but let’s confirm before we move forward.
- Hover over the Autotask PSA icon in the top-left corner of your Autotask PSA application.
- Move your cursor down to Admin and click Features & Settings.
- Expand Application-Wide (Shared) Features, then click Note Types.
- If a system note type named Task Notes with publishing set to All Autotask PSA Users, and the category set to Task, move on to Configure Auvik for alert notifications to Autotask PSA.
- If the required system note type exists but the Publish To is set to Internal Users Only, click on the system note name and update the Publish To to be All Autotask PSA Users. Click Save & Close.
- If the required system note type doesn’t exist, click New.
- Enter the name of Task Notes.
- Select the Publish To of All Autotask PSA Users.
- Click Save & Close.
How to add new issue and sub-issue types
Autotask PSA tickets can be created with associated issue and sub-issue types. To have Auvik alerts create new Autotask PSA tickets with associated issue and sub-issue types, you first need to ensure the issue and sub-issue types have been created in Autotask PSA.
- Hover over the Autotask PSA icon in the top left corner of your Autotask PSA application.
- Move your cursor down to Admin and click Features & Settings.
- Expand Service Desk (Tickets), then click Issue & Sub-issue types.
- Click the New icon.
- Set a name for the new issue type.
- Click the New sub-issue type button.
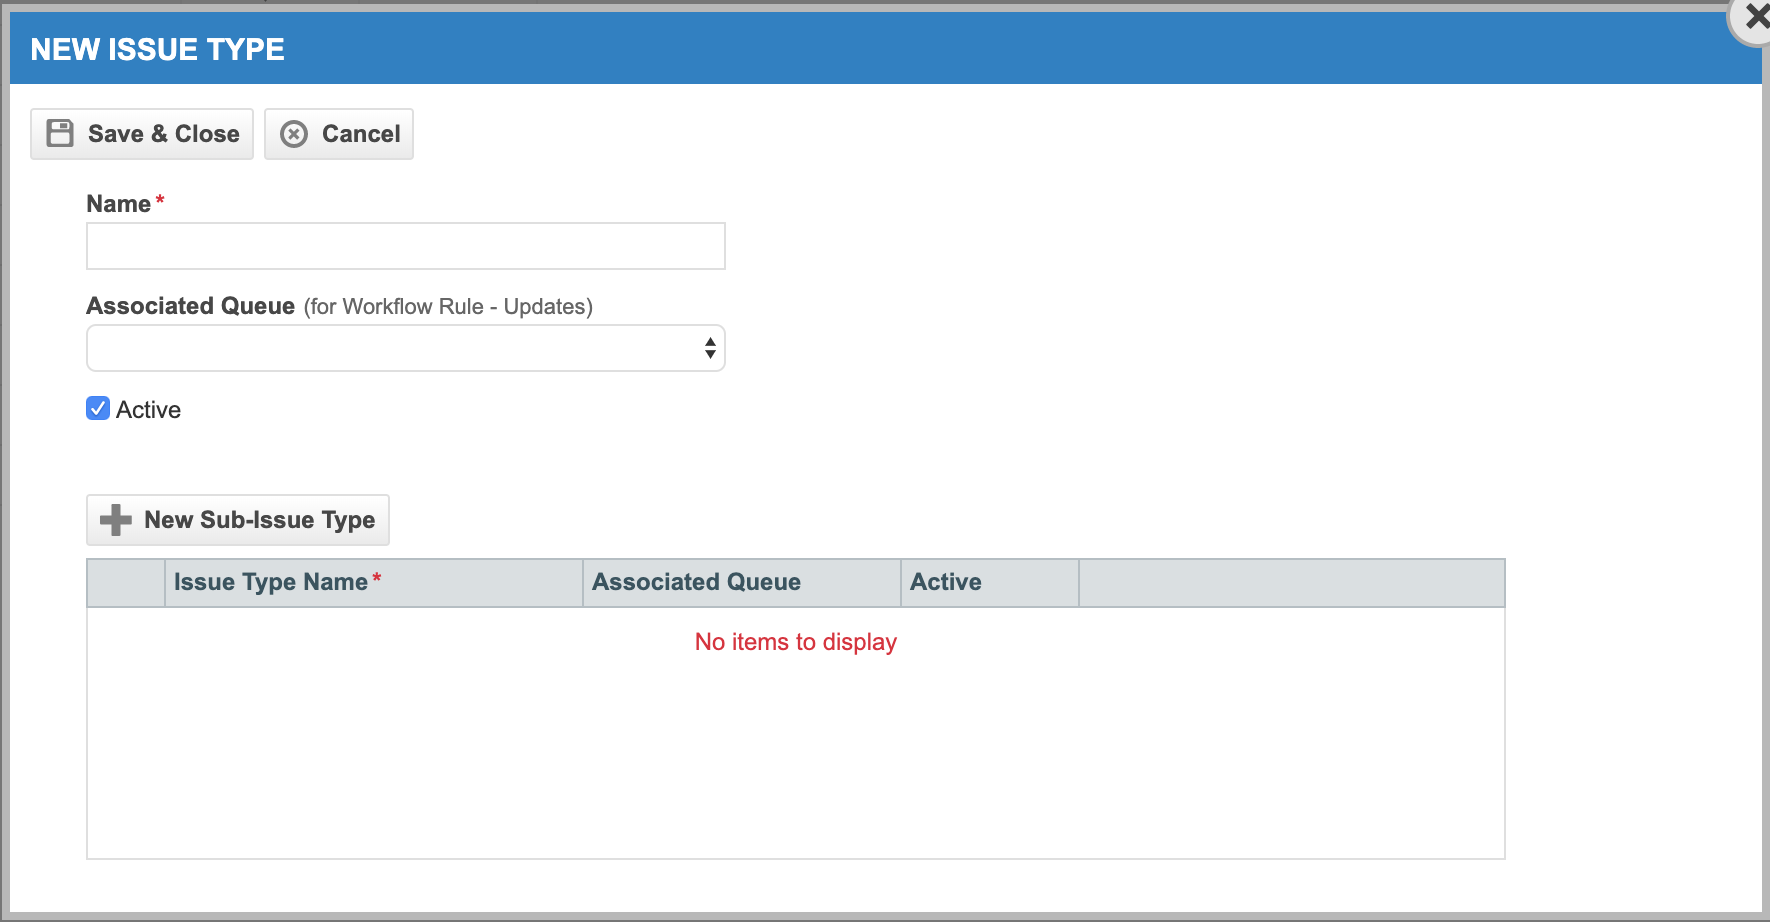
- Set a name for the new sub-issue type.
- Optionally, select a ticket queue for the issue type to be associated with.
- Click Save.
- Repeat steps 7 through 9 for each new sub-issue type to be added.
- Once all sub-issue types have been added, click Save & Close for the new issue type.
You’re all set!
Autotask is now ready to receive alert notifications from Auvik. Time to get Auvik configured to send alert notifications to Autotask.